I feel like I’m slowly getting back to normal after recovering from moving and just being sick. So I took it easy this week and focused on artwork for Horror Block Breaker. I’m still working on a couple of the sprites for paddles and balls such as Freddy’s glove, but progress is good. While I can’t show everything since it’d spoil the game, I’ve shown a couple of sprites and a new weapon in this video update below.
Today’s post will likely be short, since I don’t want to reveal too much about the game. What I can say though is that the artwork is coming along well. At this rate I should have some cool things to show on this Tuesday’s Game Dev video update and perhaps even one of the new levels if I feel it’s ready. I also discovered some additional tweaks to add for the Jason level. Such as blood to the machete, and a brighter background so players can see the black blocks easier.
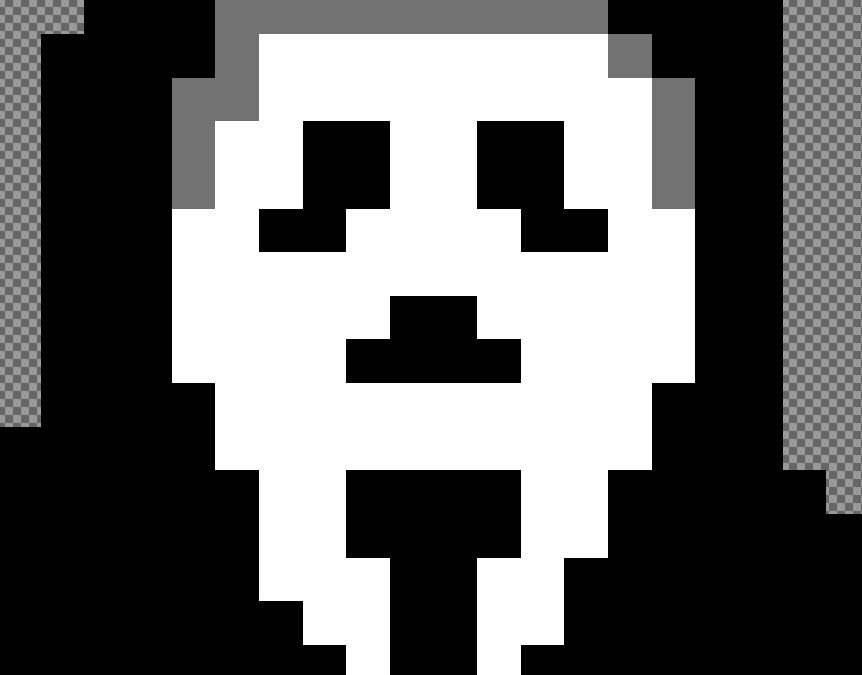
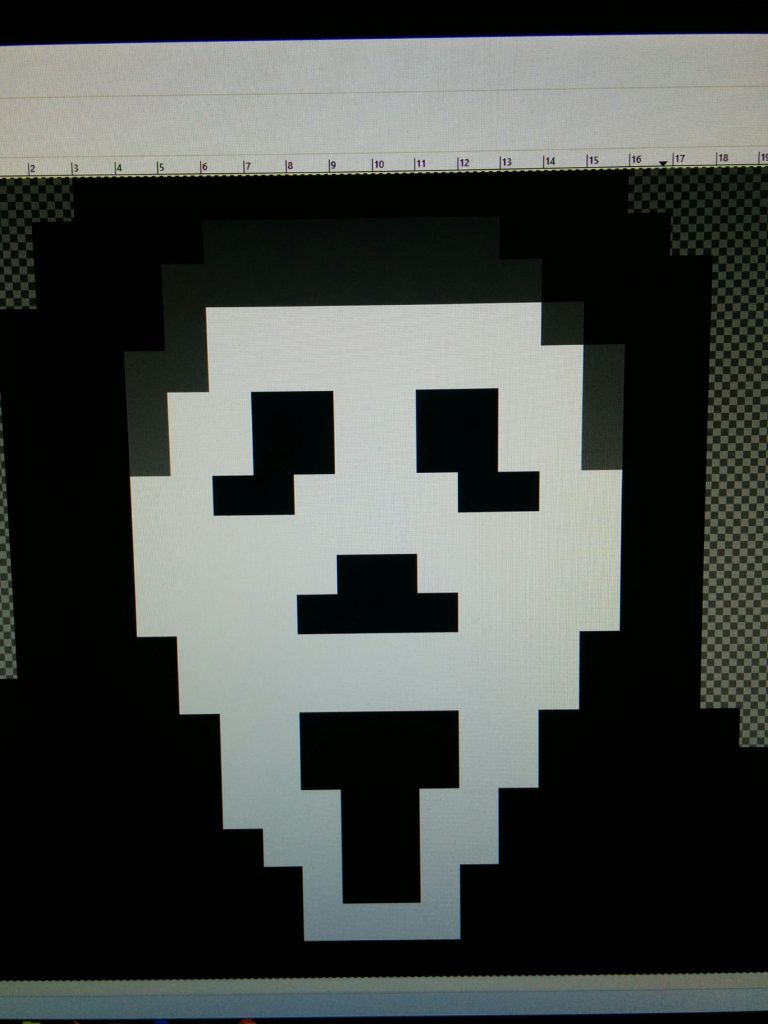
One of the main issues I’ve come across is distinguishing between two characters because they both have similar facial features. I’m not going to reveal them, but I think you’ll see why once the final version of the game is done. While I don’t think the full version of the game will be done by this Tuesday, I think I can get it ready to have my friends and family test it by next week. Below is the before and after shots of the Scream-themed ball I was working on. I tried to get a general outline of what I wanted to use and then I focused on angling the mask to match the film. Since I’m only using two colors, it didn’t take too long to create, but I’m proud of how the second version came out.
(Before) Getting a general outline of the face
(After) Working on angles, polishing, and adding some shadow where the hood is.
To improve my art skills I’ve joined some online pixel art courses, so hopefully the art will improve in the next games I make.
I finally feel like the game is going places with regards to progress. Today I launched my first video update for game development on my YouTube channel and I hope to make it a weekly post. One of the major things I need to work on in general is just being consistent with uploading when it comes to YouTube. So while I work on the more advanced videos, I can post a quick game dev update. This video features a first draft of one of the levels in my game: Horror Block Breaker. Check it out below at the bottom of this post!
Goals for the game next week:
fix the broken ball code so the ball doesn’t get caught in a boring loop (where it bounces from side to side)
finish the sprites for the paddles and if possible the balls as well
finish the rough outline of the remaining levels
Incorporate feedback from the comments in the video below
start incorporating sound effects into the game
add cracks in the blocks to show they’ve been hit (2-hit blocks and 3-hit blocks)
add blood spurts when blocks are destroyed
Long term goals (week after next, but I understand they could take longer):
arrange for 8-bit music to play in each level (I have content creators in mind to ask for permission to use their music for this project. We’ll see what happens).
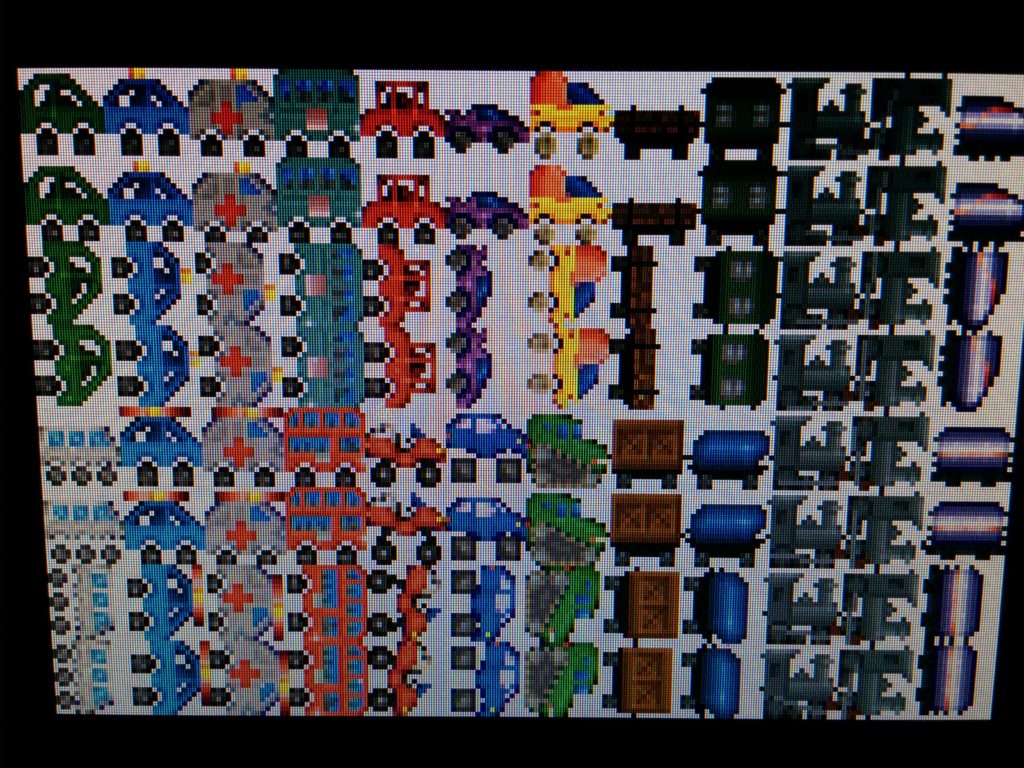
I felt like I didn’t accomplish enough yesterday to warrant a blog post on my progress, but today was great. I finally figured how to make my own sprite sheets using an art application and then transfer it into Unity and edit it futher in detail. Sprite sheets are a collection of images that show how a particular item, character or object in a game has changed. For example you might have a door that is closed, slightly open, and completely open. Three stages of a door represented by three different images. Sprite sheets can be useful for setting still images on your level or if you wanted to make a quick animation. I’m taking a Udemy course to help me get the fundamentals of Unity and I’m enjoying it, but as I saw yesterday, sometimes progress can be slow.
Sample sprite sheet of vechicles
What Happened
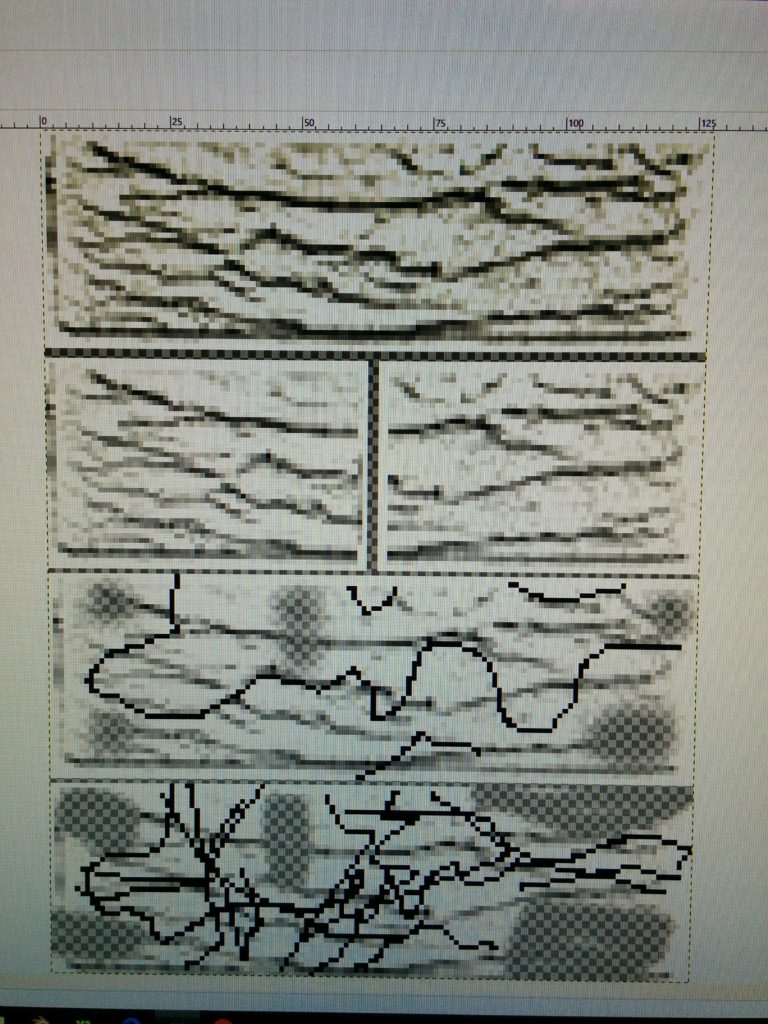
Yesterday I was trying to import multiple sprites at a time into Unity… I struggled. This was a real struggle fest in that my images would appear in Unity, but for some reason Unity believed my collection of images was one big image. I didn’t realize it until I watched my class lecture multiple times. Apparently the distance between my sprites designated by transparent space wasn’t large enough for Unity to register multiple images. Once I figured out how to add any type of sprite from my sprite sheet into a game, I realized I could save so much time. Now something that took more than an hour to understand, will now just take me 10 minutes. The sprite sheet below will show you what I mean by having transparent space between images in your sprite sheet. If the transparent space isn’t big enough, Unity will think you’re inserting a large picture. Note: These images do not represent the final product for my first game, they were just used for a test run to understand the concept. These are bricks that show damage over time. I am not using these in my final game since I borrowed the top sprite from my course for practice. The bottom three images were created by me.
Learning how to use a Sprite Sheet in Unity: Remember transparency is key.
As I keep proceeding with game development, I know I will encounter more road blocks along the way, but I’ll keep on trucking. This Tuesday I’m hoping to show off a draft one of my levels for the game with a completed Jason brick model that reacts to hits. Let’s see if I can pull it off.
Today’s post while short, might be interesting to you if you’re wondering about the bread and butter behind an Arkanoid game, collisions. I’ve been a little sick today so I mainly focused on playing my game in its current state and coming up with a laundry list of things to add. Some of these items possibly include: powerups, moving blocks, blocks that change tone or image after they have been hit, music, and sound effects etc. There is only so much you can do with an Arkanoid game / clone, and yet to me it feels like a mountain. I’ll be honest I’m taking courses and looking at guides to help me with the foundation of building my first mini game. Although I’m shooting for a small size, seeing what I have to learn to accomplish all of this, move on to the next game, and eventually get enough skills so I can one day in the future make a game to sell is a little overwhelming. A comparison might be, an extremely overweight person who is trying to train for a marathon and complete it in qualifying or record time, even though they have never run a 3k race before in their life.
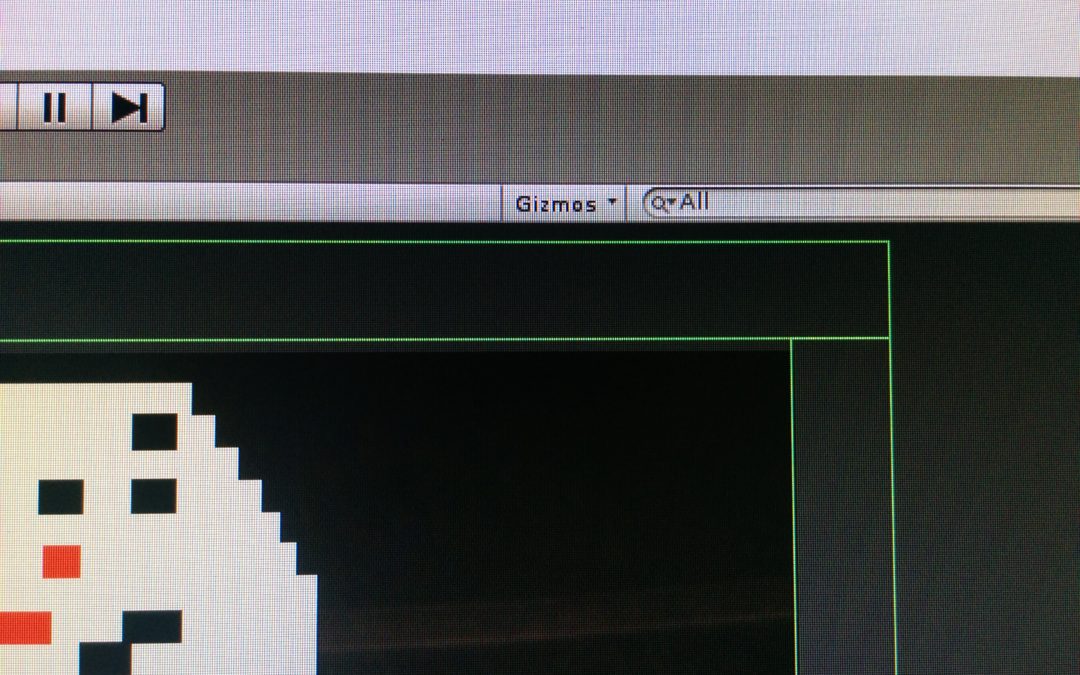
So to keep up my spirits and move on, I celebrate the small victories. No matter how trivial, no matter how long it took to do one thing, like get the blocks to destroy on collision. Or yesterday’s problem: struggling for an hour wondering why your sprites weren’t rendering properly and coming out in different shades whenever you played it. The answer was because the depth or Z-Depth of the sprites and my background was the same, so my background image would impact which sprites would change color whenever I moved them. (Do’h!)
Collisions Make an Arkanoid
Today’s small victory was finally implementing the code to break the blocks in my game. The code looks like this inside my brick sprite and i’ll explain it as best I can. Keep in mind this is only a small piece of a much larger part of code, so some parts are missing.
void Start ( )
{
timesHit = 0;
}
void CollisionEnter2D (Collision2D col)
{
timesHit++;
if (timesHit >= maxHits)
{
Destroy (gameObject);
}
}
So you might be wondering what is this mumbo jumbo above. This is likely the most important code in Arkanoid that really makes the game. It is located in my brick script attached all bricks I insert in the game. We have the start function where we have an integer called timesHit that is set to 0. Next we have another method or function titled CollisionEnter2D. This is where the game senses that a collision has taken place between two objects.
In the method CollisionEnter2D you have an argument called Collision2D and a variable called col (not the most important in what I’m explaining, so don’t worry about it). Inside the method you have the integer timesHit increasing by 1 every time a collision is detected. Then we have an if statement where when the #of timesHit is greater than or equal to maxHits another integer, the object will destroy itself. The gameObject being the current sprite containing the brick script.
What’s cool about this code?
What’s nice about this code is that it will apply to all objects you’ve included in your game that contain this script. So instead of editing each individual object’s code, I just have to edit the script and it is applied to all objects that share the script. Pretty cool!
Today was a challenging but fun day since I got to build giant monsters for Horror Block Breaker. I know. The name is cheesy, and it needs to change. I’m still coming up with a name, so hopefully I can write it proudly here on the blog.
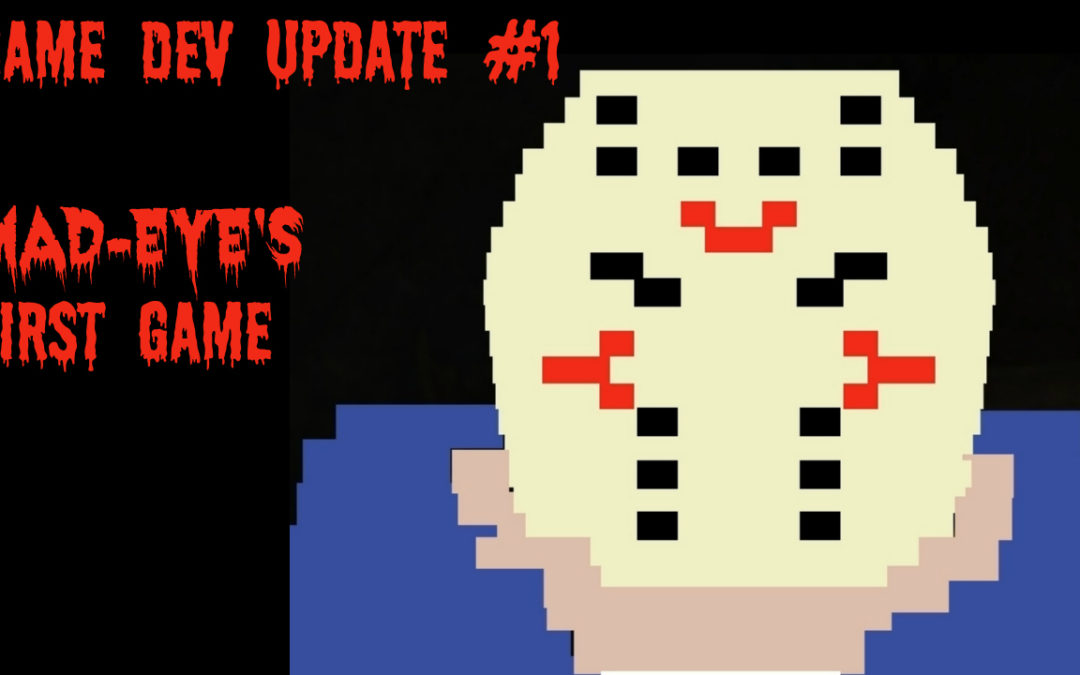
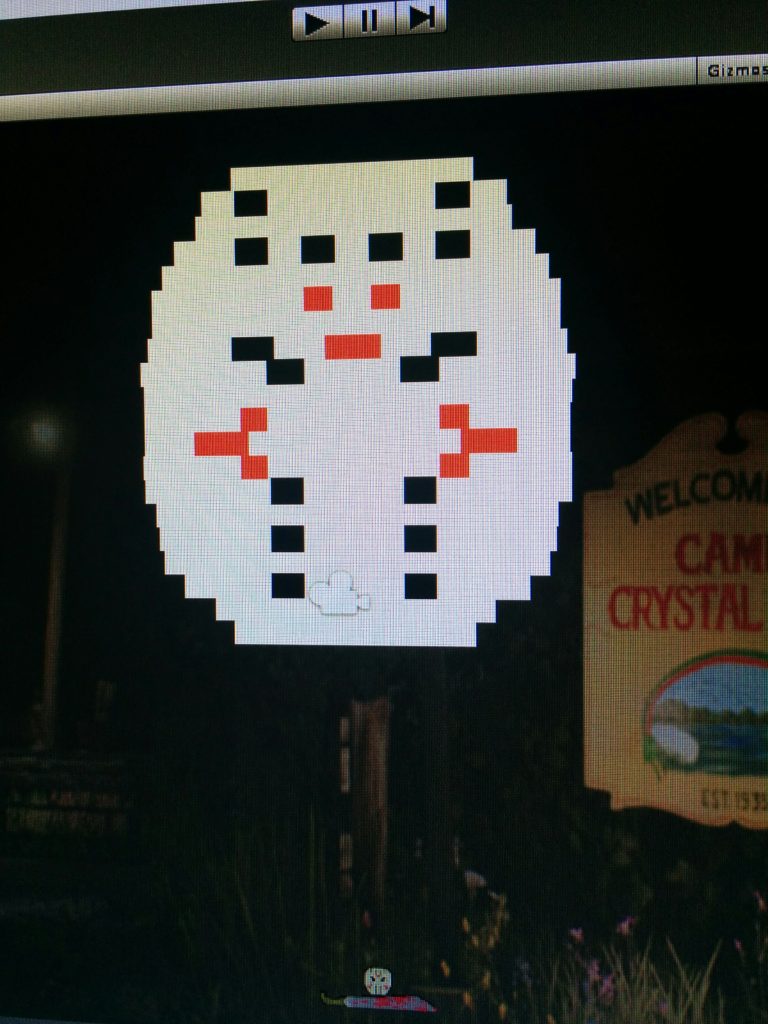
When it comes to Arkanoid, most versions have blocks of about the same size in each level. The challenge this poses for building my Jason level is that Jason’s mask has several details. For example, eye slits, tiny mouth holes, red markings, and discoloring (depending on the film). Thankfully Unity allows me to change the size of a block individually when I place it on the game space. Though time consuming, I can adjust each block until I get a relatively close shape resembling Jason’s mask.
The picture below is my first attempt at making Jason inside the Friday The 13th level. Arranging the blocks was difficult, but by placing the black and red blocks first and then the white, I was able to get an okay start. What’s cool about Unity is that it reminds me of a lot of features you’d see in a picture editor like Gimp, Photoshop, or PicMonkey. You have the option to put your sprites in layers so if you want to have objects overlapping each other, it’s pretty easy. The layers feature allowed me to place the longer white blocks in the background of the red and black so I’d have better control with the outline without covering the red and black blocks from view. I plan to decrease the size of the mask by around 30-50% and add a body and a weapon.
A Simple Explanation of Colliders in Unity
Colliders are a component in Unity that are attached to game objects in order to have collisions for 2D games (possibly 3D as well, though I’ve yet to make a 3D game). For example let’s look at the classic game Asteroids. You’re flying around in your little spacecraft (triangle-shaped) and suddenly an asteroid hits you and you blow up into several pieces. In order for that to happen, there needed to be a collider placed around your ship and a collider around the asteroid. The colliders sense when a collision takes place through their physics and rigid bodies. The game objects then react according to the settings you’ve selected for gravity, velocity, or even a special script you may have written via code.
Usefulness of Colliders in Horror Block Breaker
What’s useful about colliders is their different shapes such as circles, squares, and other polygons. You could use a collider to directly cover your sprite or perhaps establish an invisible perimeter in your game. For Horror Block Breaker I use three colliders to establish the boundary of my game and some special colliders for the machete. Strange however was how the colliders on the machete became a combination of triangles. It reminded me of the time I tried the Oculus Rift in Japan. The triangles created a perimeter which represented the boundary for the VR game I was playing. But depending on your object, a direct collider may not be the best option. Direct colliders can cause errors and sometimes impact performance of the game (at least in Game Maker Studio). So far I’ve enjoyed using colliders in my game, but we’ll see what happens.
For my next post I’m going to try and write some code and explain it so I can better solidify my understanding of C# and maybe show you something interesting and new things in game development.